Using Google Tag Manager (GTM) with Painless Analytics is easy!
Copy the Painless Analytics Embed Code for Google Tag Manager
Sign into your Painless Analytics account, go to the Analytics Dashboard, select your website, then click on “Settings” on the left menu (in the mobile view select the left hamburger icon to expose the menu). Copy the “Embed Tracking Code”, this is the value we will enter into Google Tag Manager.
Create a Painless Analytics Tag in Google Tag Manager
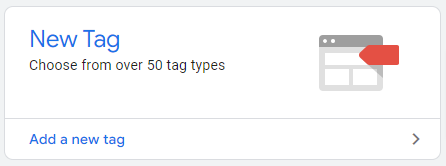
Sign into Google Tag Manager, select the “Tag Manager” account to add the tag to, then select the “Container” (this is your website you are tracking). Then click on “Add a new tag”.

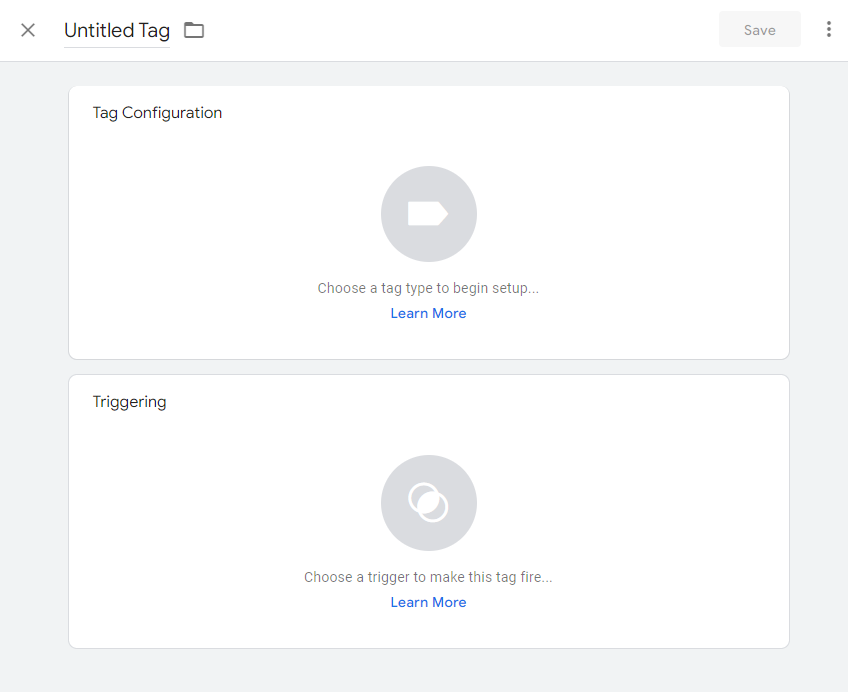
The GTM Tag editor will appear with the title set to “Untitled Tag”.

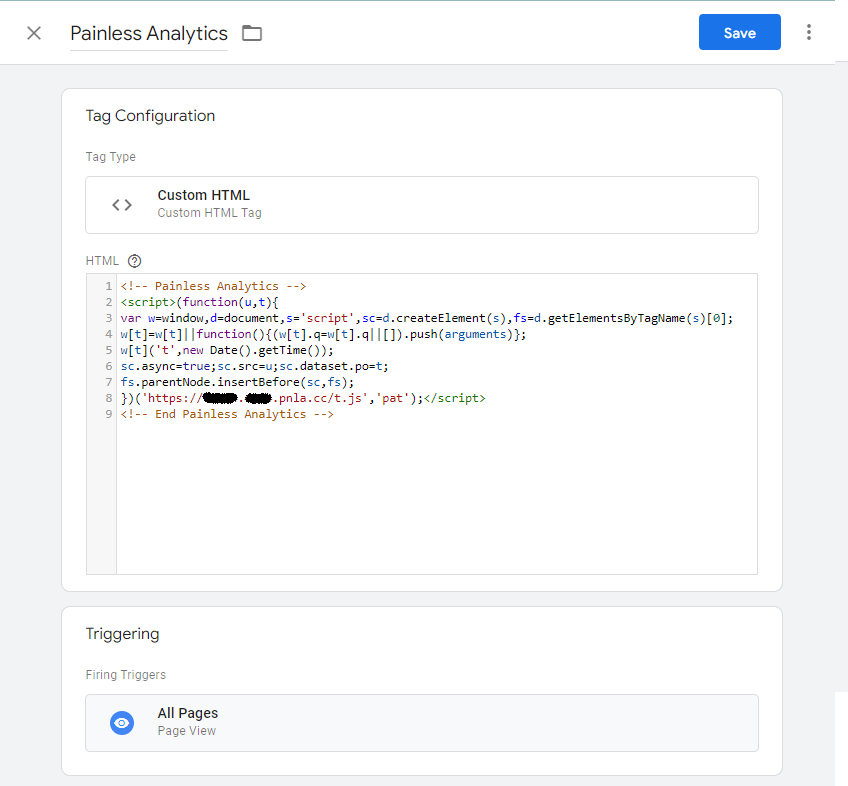
Edit the title, rename it to “Painless Analytics”. Under “Tag Configuration” > “Tag Type”, select “Custom HTML”. Paste the code copied from the first step above into the “HTML” box. Under “Triggers” section, select “Choose a trigger to make this tag fire…”. Select “App Pages” (advanced users may select other options in this step).

Select click “Save” to save this new tag.
Once you are done editing your GTM container, it is time to submit the change, which puts the changes into production. Select “Submit” to start the process. If your organization has a policy on how to name your version names and descriptions, do that now. Otherwise you can skip this step. Select “Publish” to finish applying your changes.